Creating a Trip using the webmap(PRO users)
Creating a Trip using the Webmap
This tutorial requires you to have a PRO subscription.
Login to your BRMBMAPS.com account.
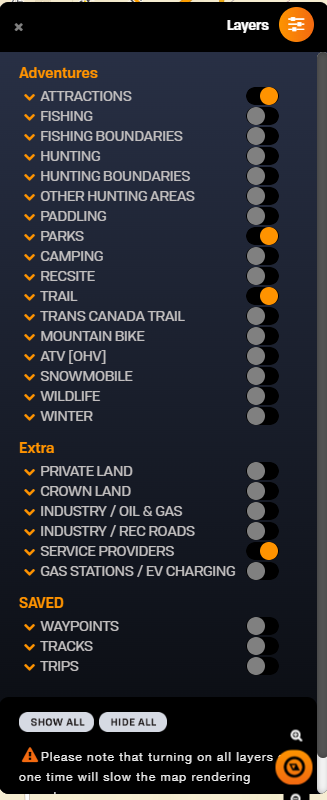
Select the layers you want to see on the map.
Toggle Layers
Selecting your trip data
To create a trip you can add and create your own points and tracks before adding them to the trip or you can add existing trail segments and POI points to your trip.
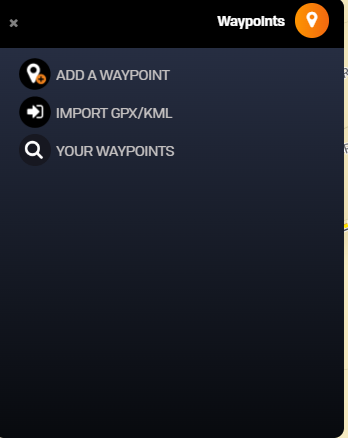
Adding your own Points
Select the Waypoint tool from the menu
Click on Add waypoint to activate the waypoint tool.
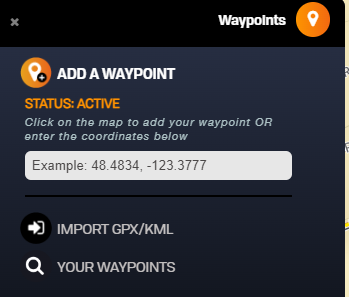
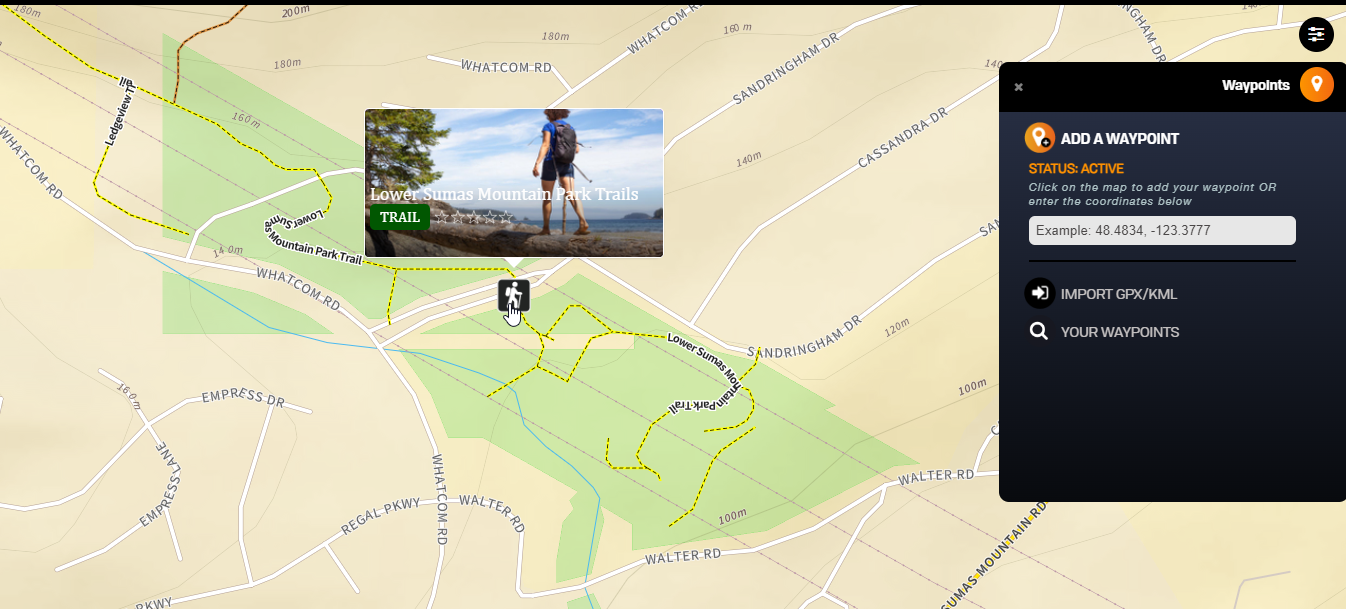
Now you can click on the map to drop the point where you would like it.
Save the trip name, add a description and give it an icon.
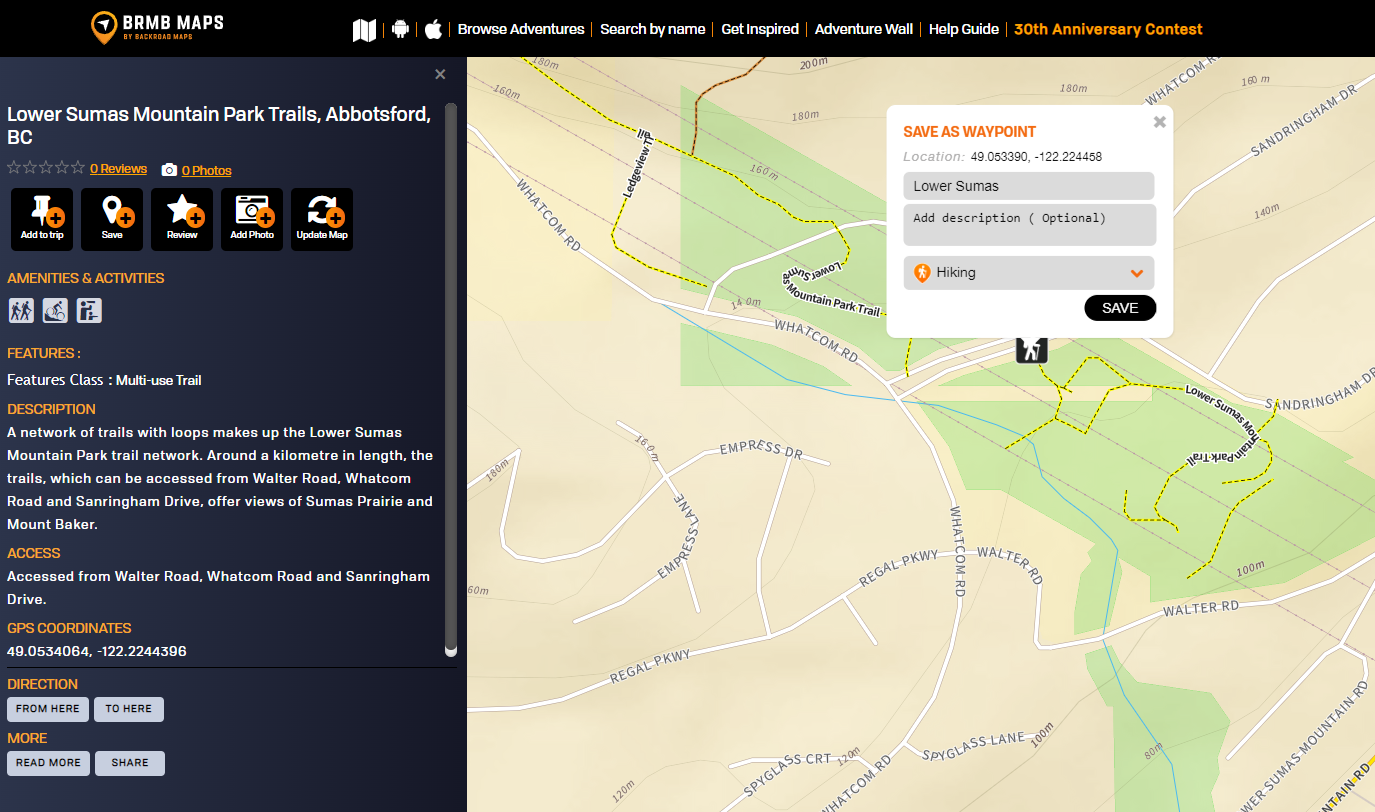
Your point will now show on the map, clicking the point will bring up the pop up menu and you can add it to your trip.

Adding your own Tracks
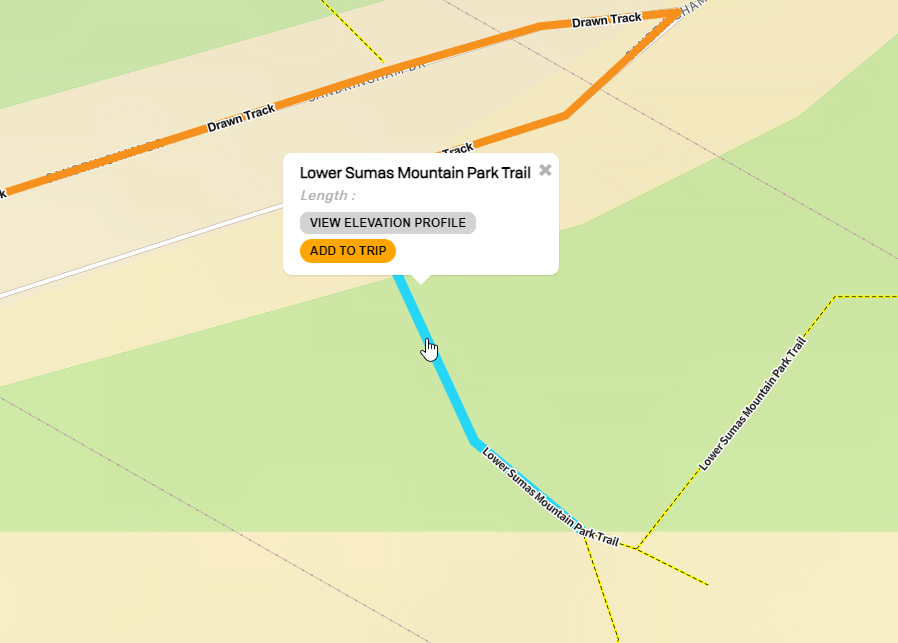
To add your own tracks you can click the track tool, use the tool to draw your track lines on the map and double click when finished. It will ask you to name the track and give it a classification. You can now click your track and it will give you the option to Add to Trip.

Adding Existing POI and Tracks
You can also add POI and Track data from the adventure layers.
Click on the POI point or track you would like to add and select add to trip.
When you have added the segments of the trail and any points you want to add to your trip they will all show in the trip planning window.
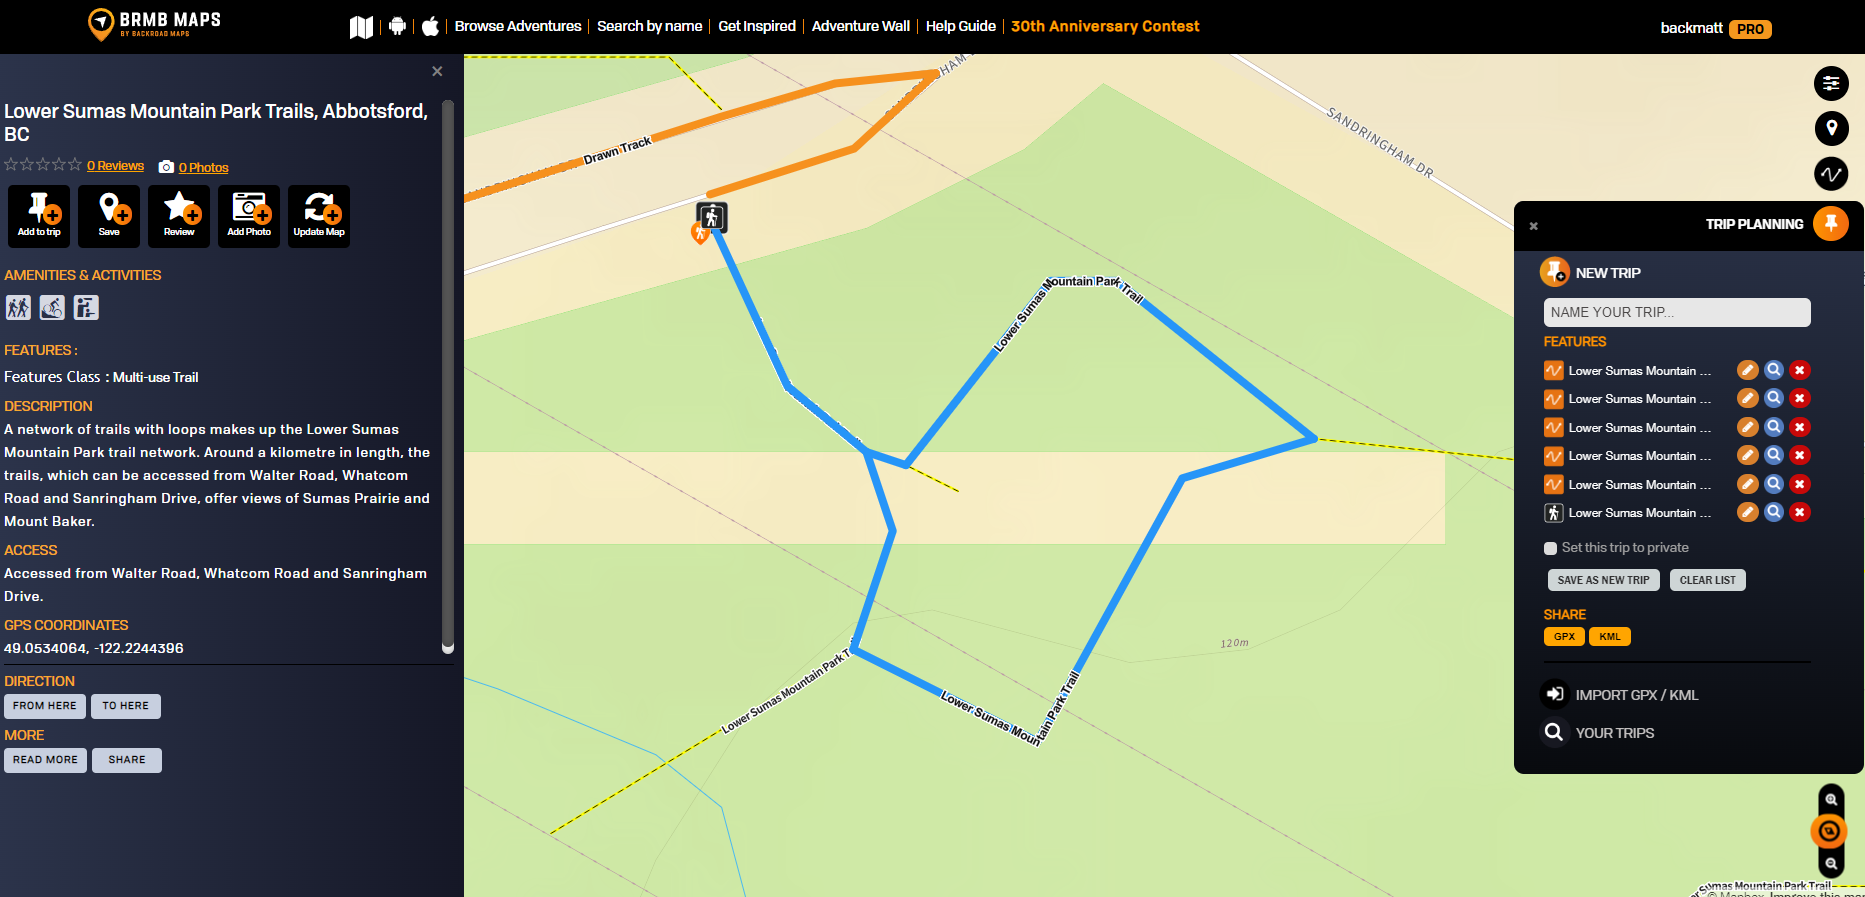
You can name the map and save it so it is available as a trip from the layers menu. If needed you can also export the trip as a .gpx or .kml file.
Syncing your Trip data to your device
On your device you can open the app and tap the My Data tab to show your data.
Click Sync with Webmap to sync your data and show you your newly created trip.
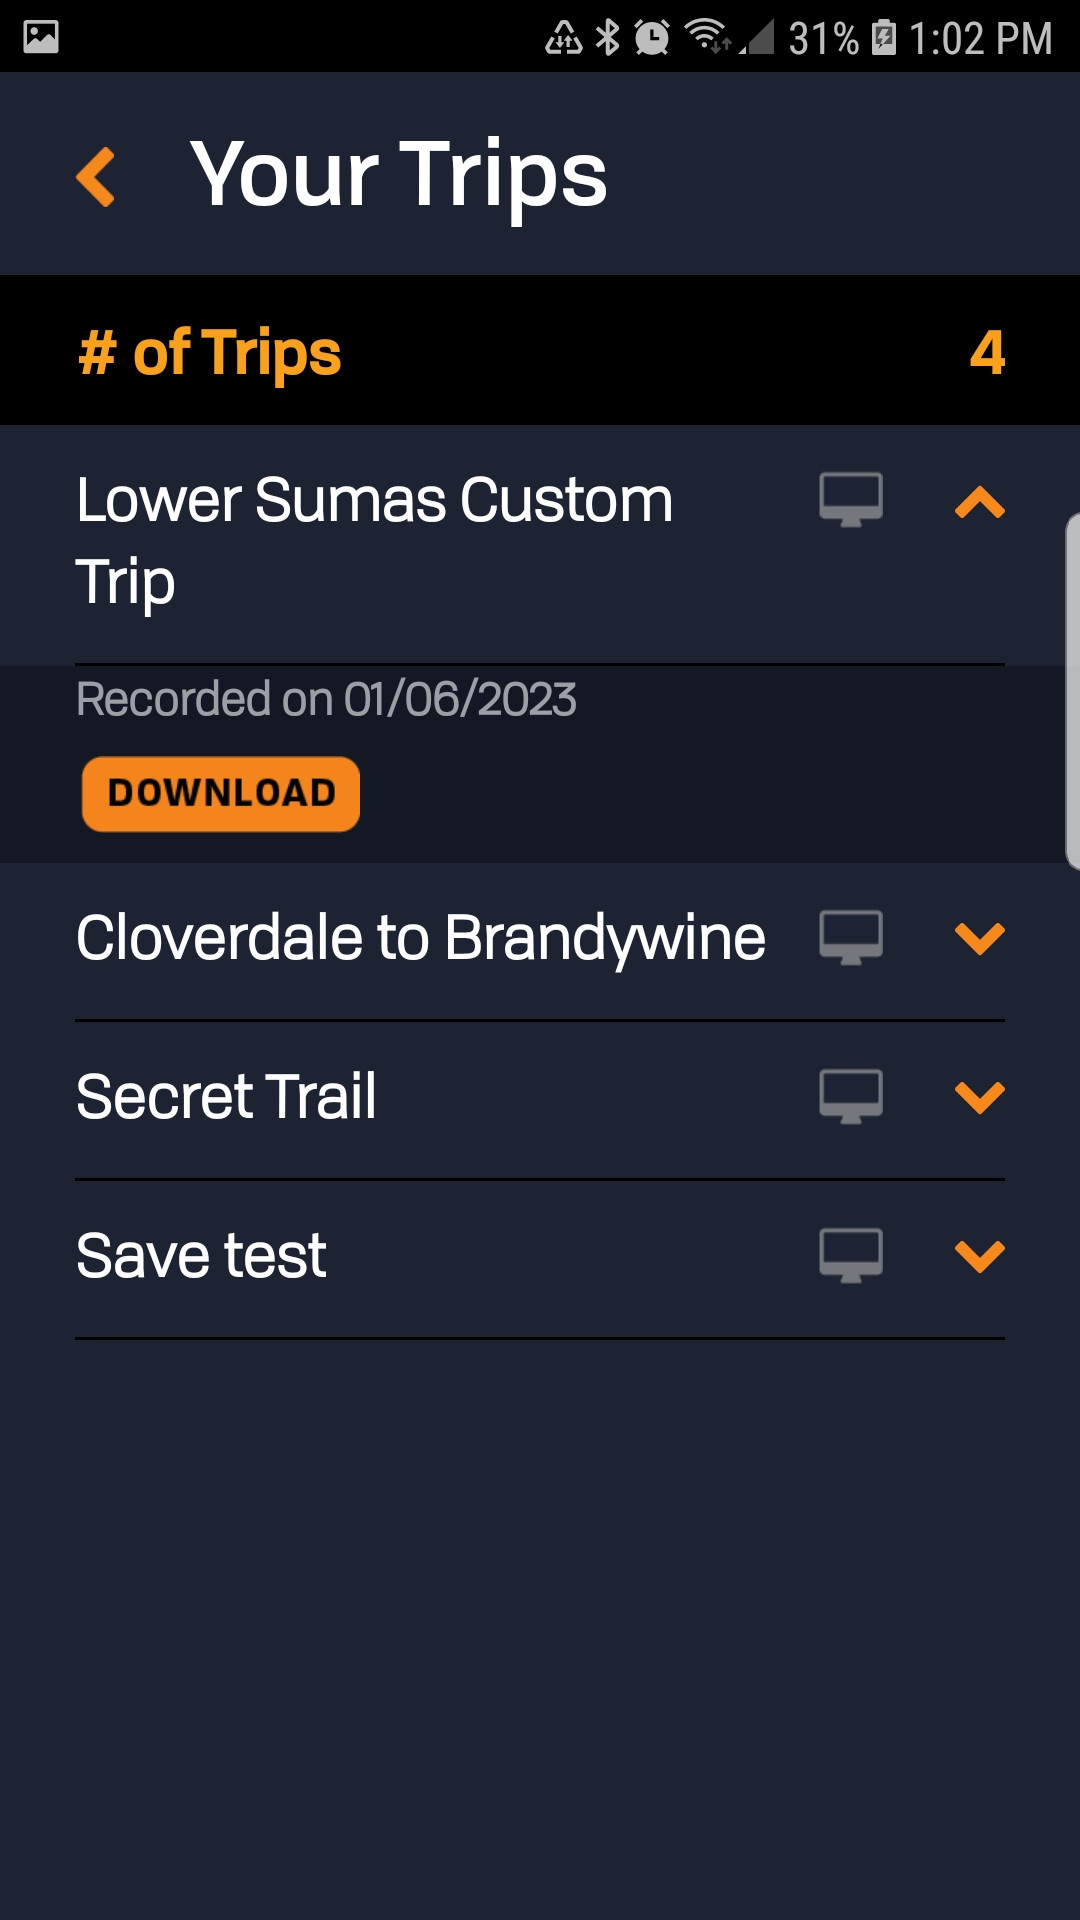
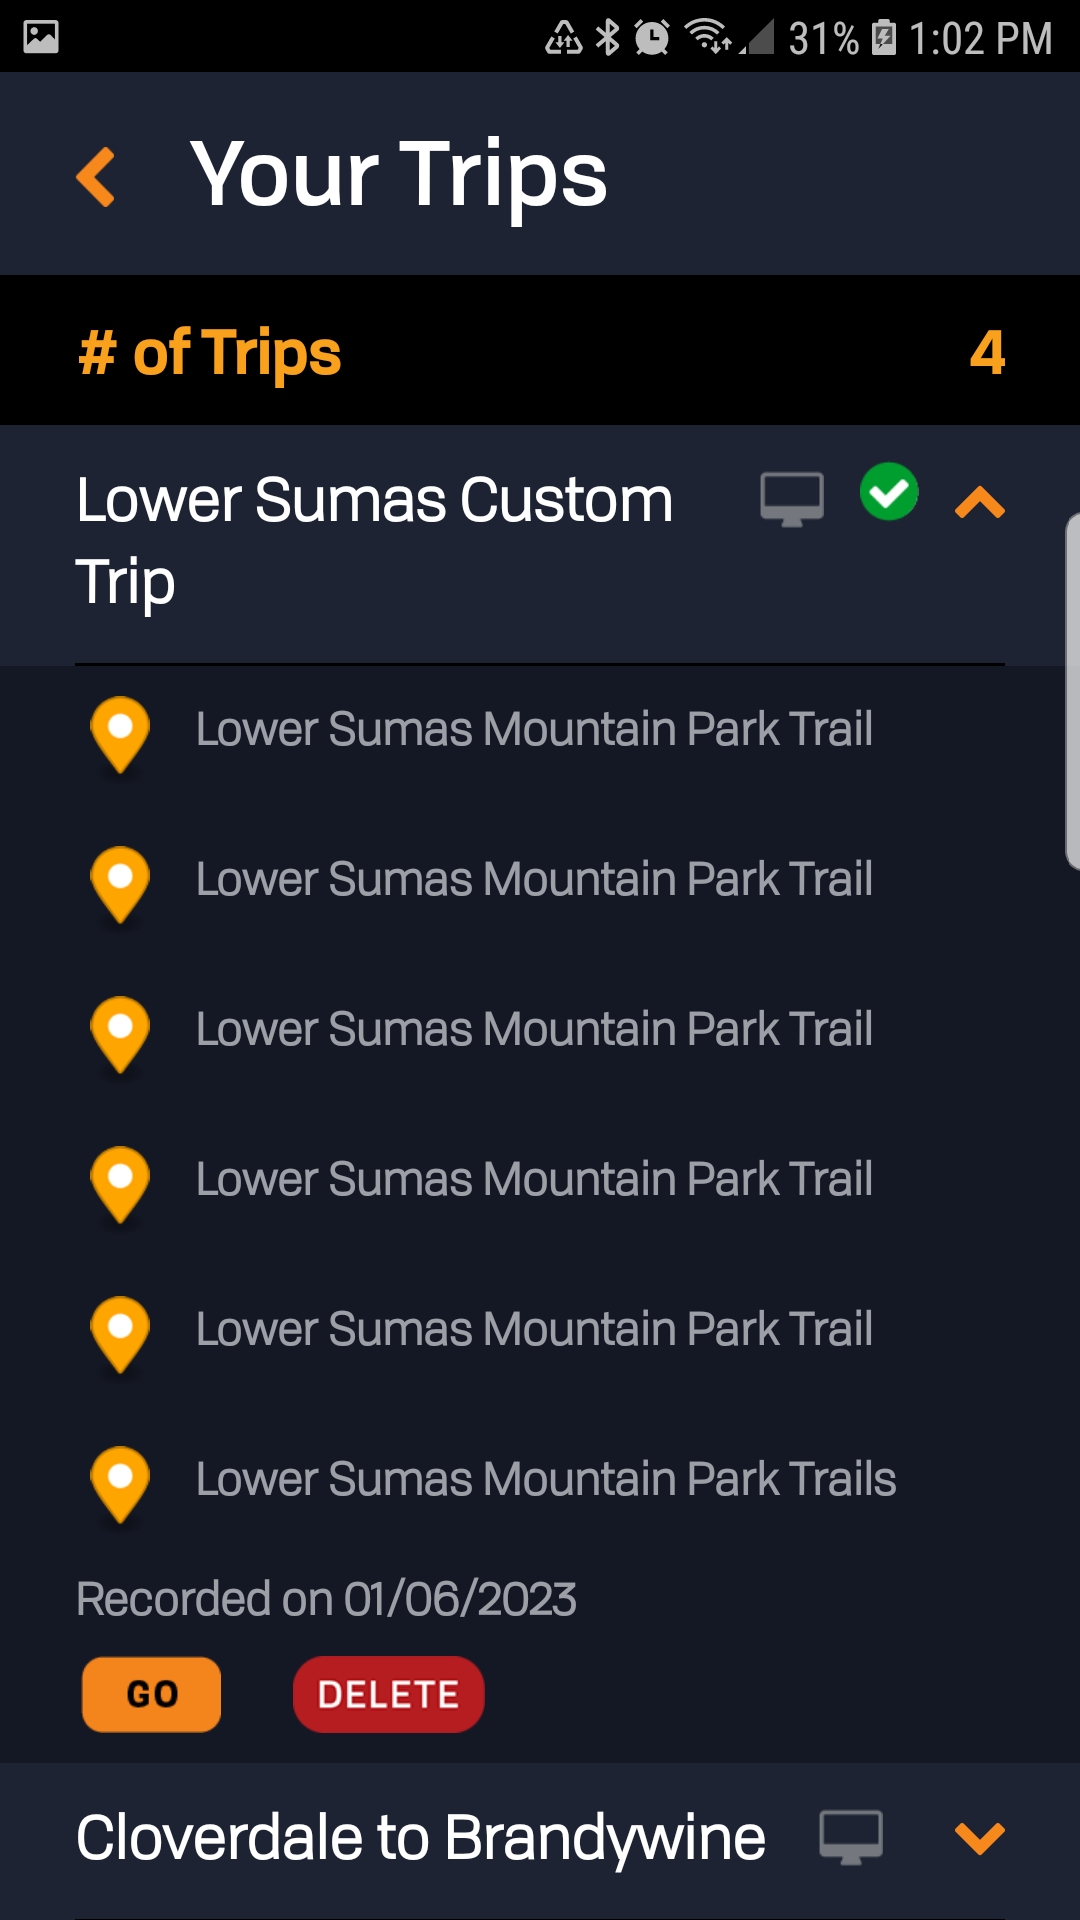
Access Your Data
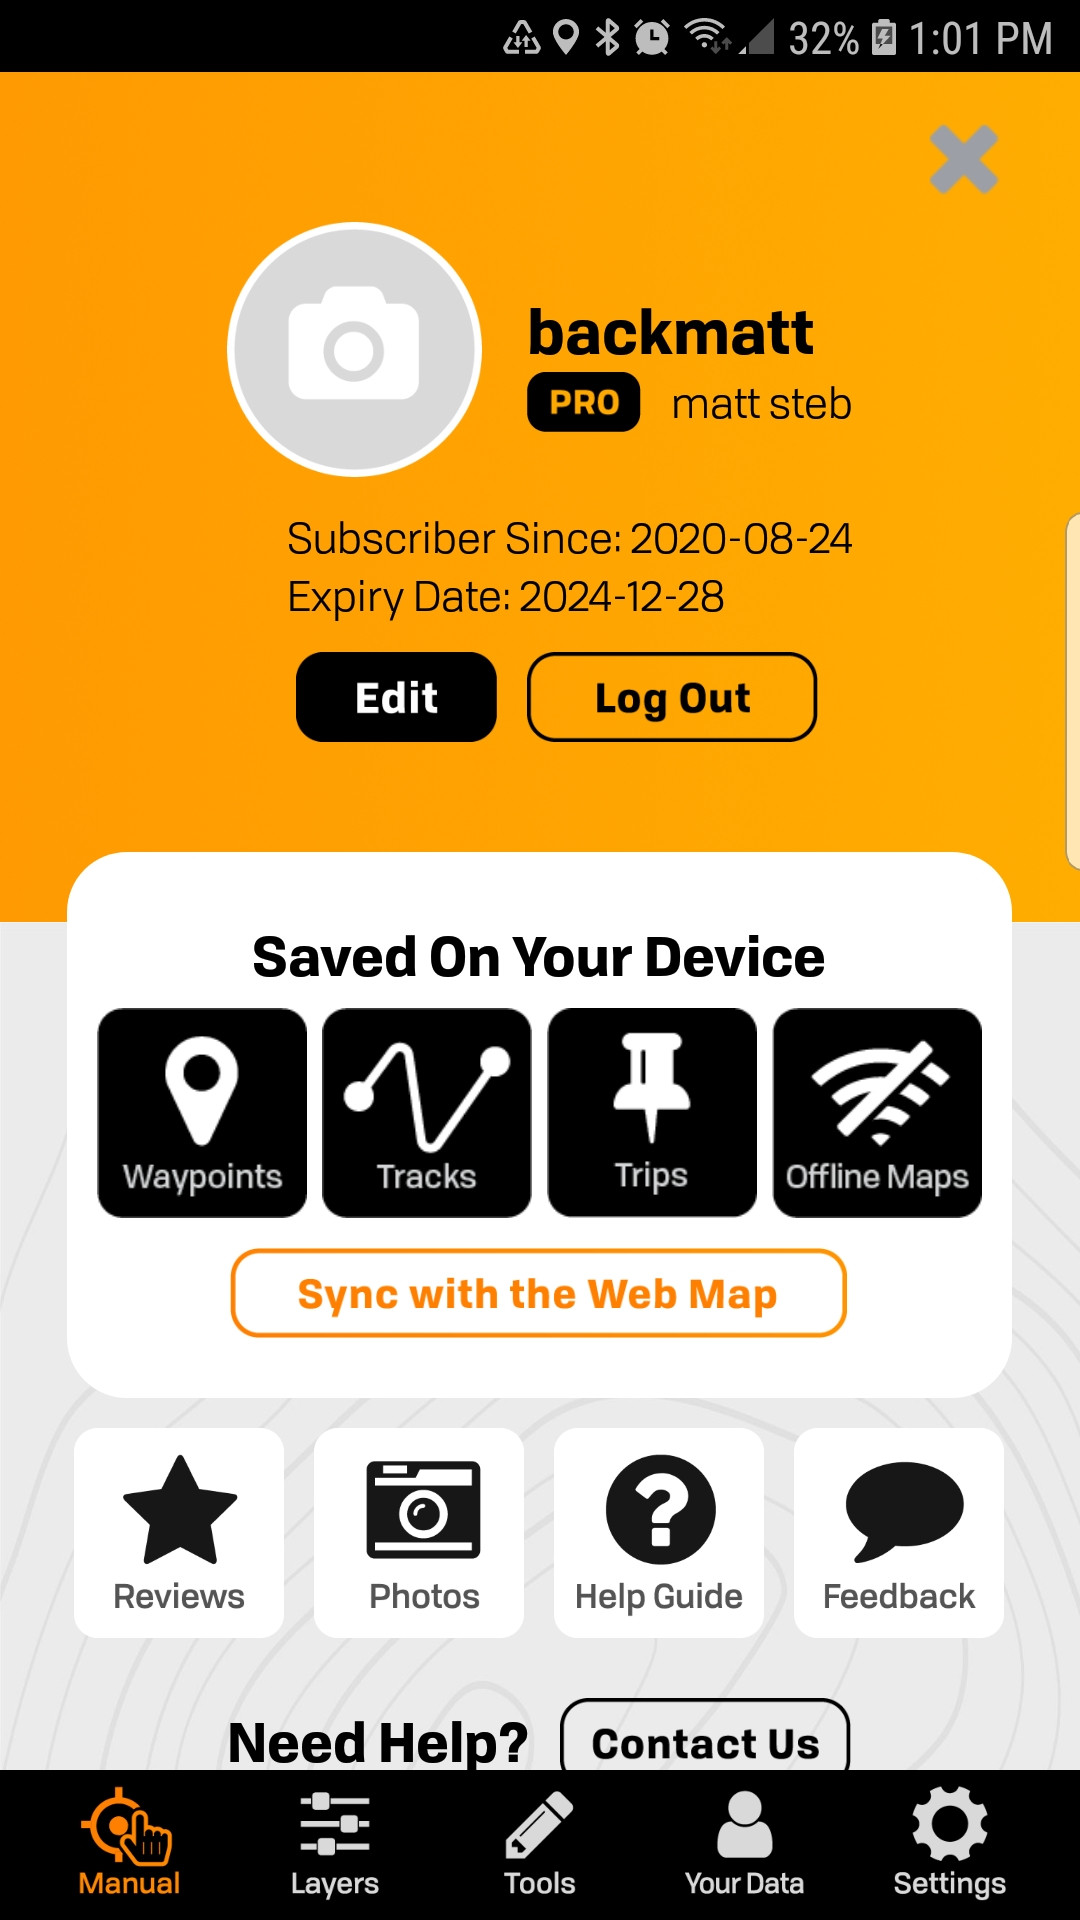
After the sync you can tap Your Data and then Select Trips to list trips. Select the trip you want to download to your device and tap the Download button. The trip will now be listed and show you the trip data. Clicking the Go button will take you to your trip on the map.
Download your trip data