BRMBMAPS
Mobile APP and Webmap
Managing Your Subscription
BRMB Maps offers three ways to subscribe to the PRO plan:
- Web (credit‑card or PayPal)
- iOS App Store
- Google Play Store
Below is a step‑by‑step guide for canceling, upgrading, and troubleshooting each platform. Screenshots are linked to help you navigate the UI.
1. Cancel a PRO Subscription
| Platform | How to Cancel |
|---|---|
| Website | 1. Log in at https://brmbmaps.com. 2. Click your username in the top‑right corner → User Dashboard. 3. Select Settings > Your Plan. 4. Click Cancel Automatic Payment. |
| iOS App Store | 1. Open App Store. 2. Tap your profile picture in the top‑right. 3. Select Subscriptions. 4. Find BRMB Maps and tap Cancel Subscription. |
| Google Play Store | 1. Open Google Play Store. 2. Tap the profile icon (top‑right). 3. Go to Payments & subscriptions > Subscriptions. 4. Select BRMB Maps and tap Cancel Subscription. |
Note: If you subscribed via the web, the cancellation will stop future charges but you can still use the PRO features until the current billing period ends.
2. Resolve Subscription Issues
- Google Play – Fix subscription issues
- Apple iTunes – Fix subscription issues
- BRMBMaps.com - Contact support with your email or username for the app..
3. Request a Refund
| Store | Refund Process |
|---|---|
| Apple iTunes Store | https://support.apple.com/en-ca/HT204084 – “How do I request a refund for an App Store purchase?” |
| Google Play | https://support.google.com/googleplay/answer/2479637?hl=en&sjid=8517244894522933406-NA – “How do I request a refund for a subscription?” |
| BRMBMaps.com | Contact support with your email billing statement or PRO purchase history. |
If you’re part of a Family Sharing plan on iOS, the subscription can only be cancelled by the Family Member who owns the Apple ID.
3. Locate the Receipt to Cancel a Subscription
- Search your email inbox for the phrase “receipt from Apple.”
- Open the receipt and verify the Apple ID used for the purchase.
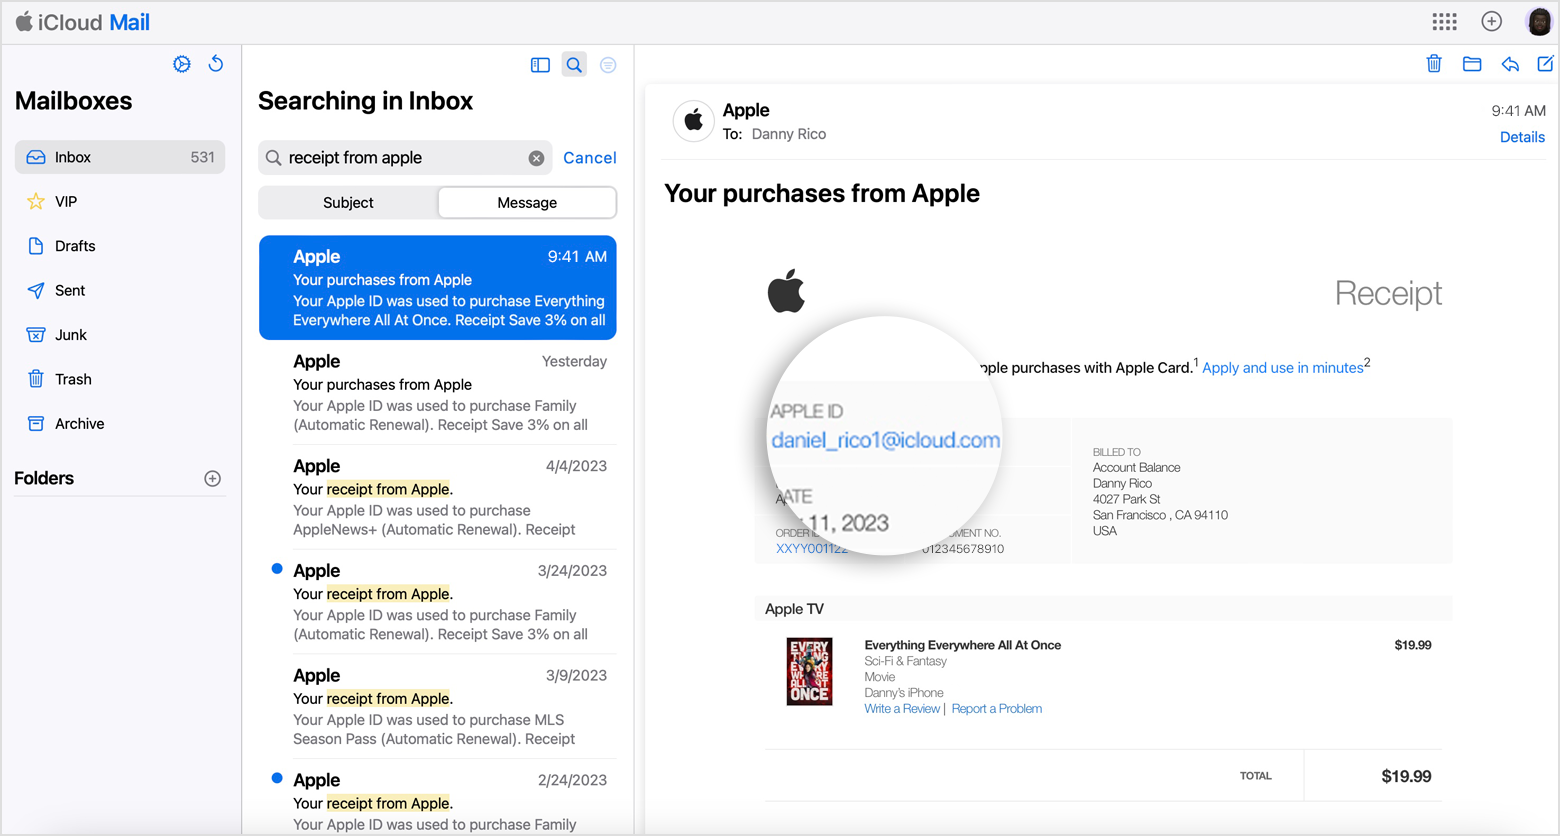
Family‑Shared Subscription – If the receipt shows another family member’s Apple ID, that member must cancel the subscription.
Multiple Apple IDs – Sign in with the Apple ID that appears on the receipt and cancel from the App Store.
3. Upgrade from Free to PRO
On the BRMB Maps Website
- Open User Dashboard – click your username → User Dashboard.

- Click the Settings button (top‑right).
- On the left sidebar choose Your Plan.
- Click Upgrade to Pro or Change Plan to switch to a different plan.
Tip: The upgrade takes effect immediately and you’ll be charged for the new billing cycle.
3. Technical Resources
| Resource | Description |
|---|---|
|
Web‑based user dashboard (Settings → Your Plan). |
4. Quick Reference
| Action | Platform | Link |
|---|---|---|
| Cancel PRO (website) | Website | https://brmbmaps.com |
| Cancel iOS subscription | iOS App Store | https://support.apple.com/en-ca/HT202039 |
| Cancel Google subscription | Google Play | https://support.google.com/googleplay/answer/9818348 |
| Refund (iOS) | iTunes | https://support.apple.com/en-ca/HT204084 |
| Refund (Google) | Google Play | https://support.google.com/googleplay/answer/2479637?hl=en&sjid=8517244894522933406-NA |
Pro tip: Keep a copy of your subscription receipt (email or app‑store screenshot) handy; it’s the quickest way to identify which Apple ID or Google ID is managing the subscription.
Free vs Pro
Free vs Pro Account
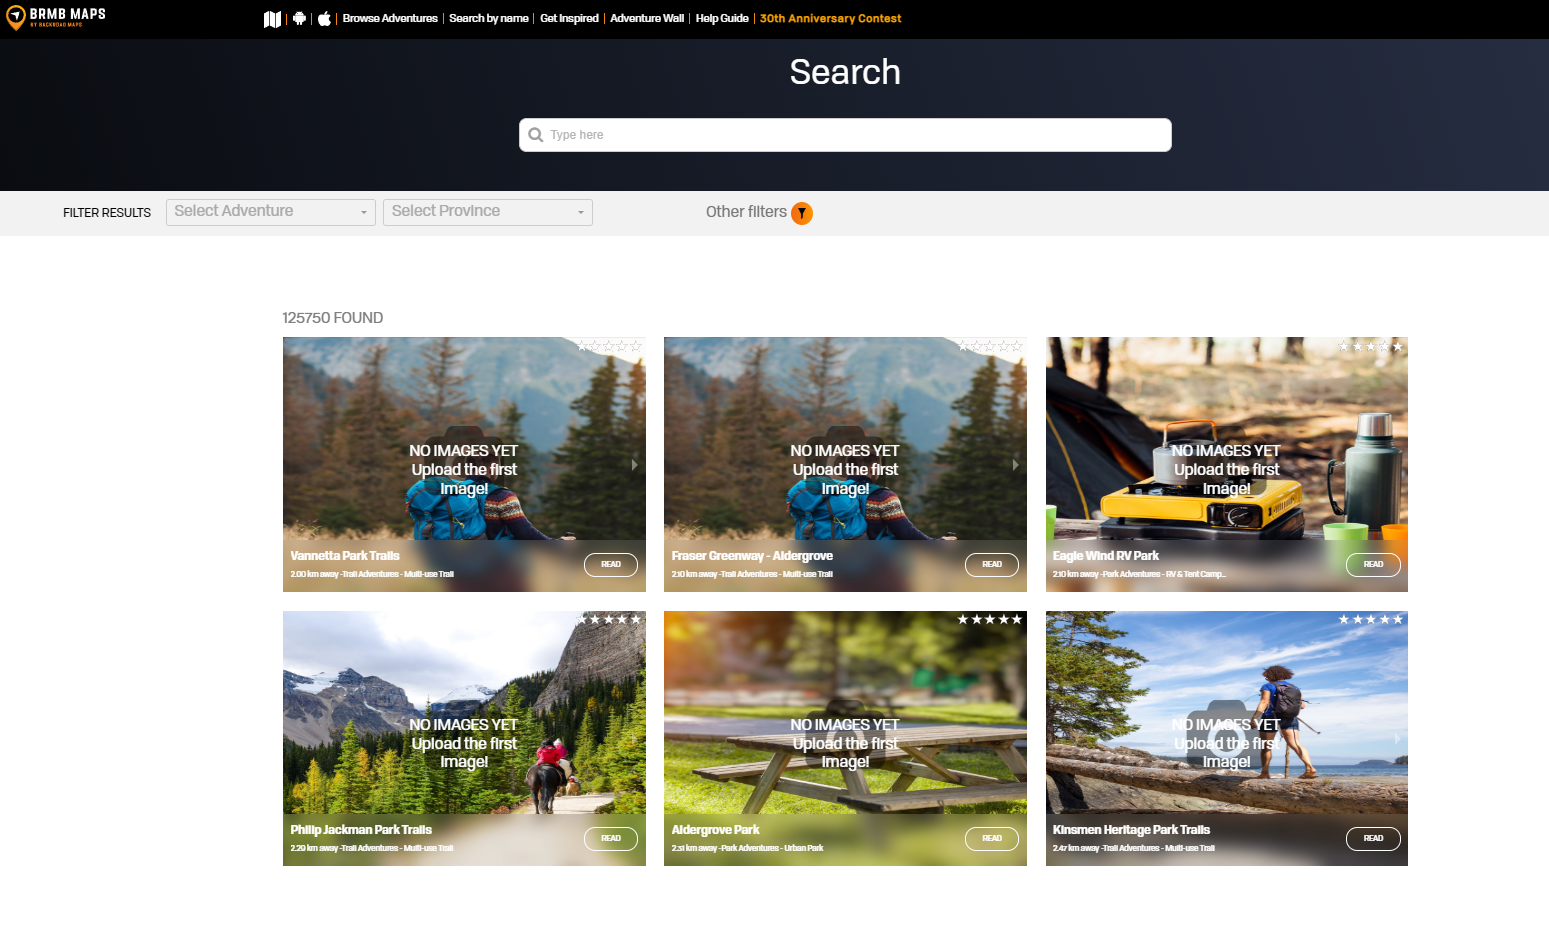
Free accounts can access the Basemap and search for points of interest on the map using the explore feature.
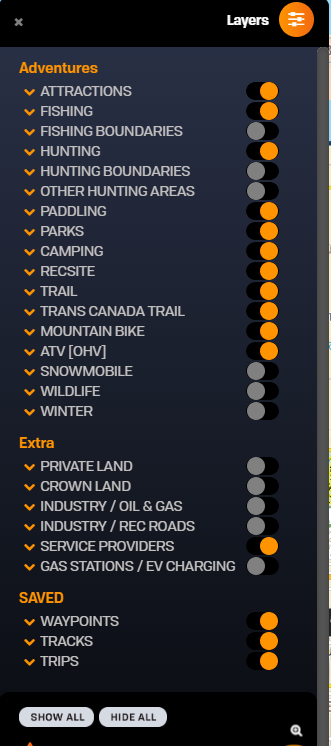
Pro users can turn on and off 99 different layers to display the outdoor activities they are most interested in. The options range from displaying everything to display one Adventure and specific features within each Adventure. Pro users also get access to the Private / Crown Land and BC Forest Service Road layers.
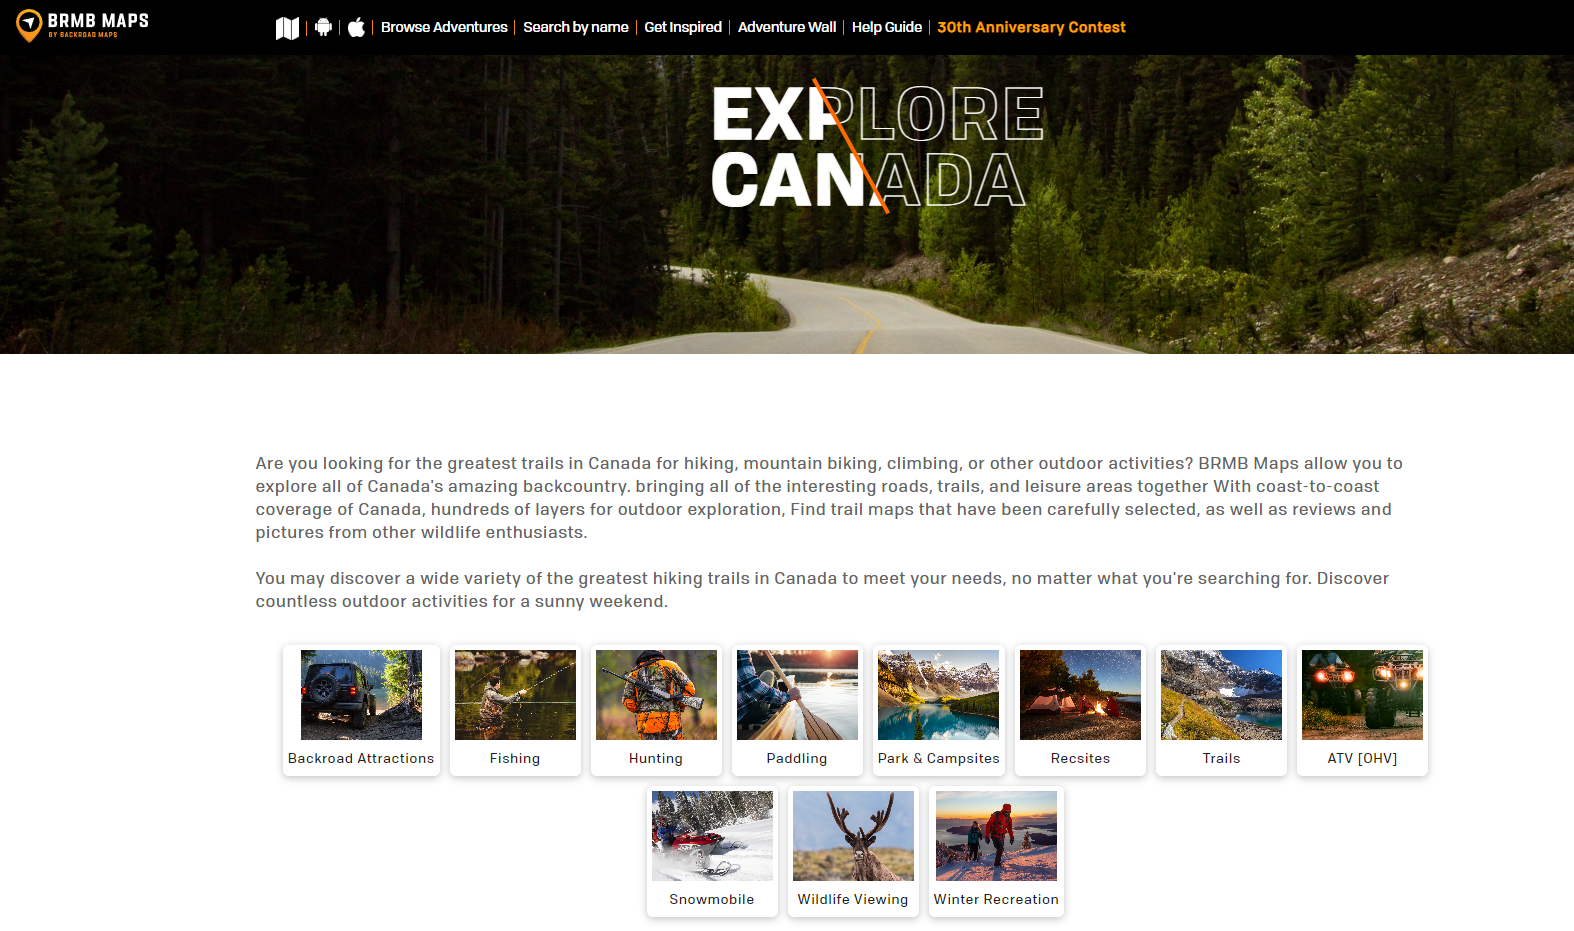
There are 11 different BRMB Adventures offered through the Pro plans, each with several layers to choose from:
- Backroad (9 layers)
- Fishing (15 layers)
- Hunting (25 layers)
- Paddling (4 layers)
- Parks & Camping (11 layers)
- Recsite (3 layers)
- Trail (8 layers)
- ATV [OHV] (4 layers)
- Snowmobile (2 layers)
- Wildlife Viewing (1 layer)
- Winter (7 layers)
Our Pro plans also includes 2 bonus overlays:
- Private / Crown Land (for 9 different provinces)
- Forest Service Roads (for BC)
Layers Menu
Creating a Trip using the webmap(PRO users)
Creating a Trip using the Webmap
This tutorial requires you to have a PRO subscription.
Login to your BRMBMAPS.com account.
Select the layers you want to see on the map.

Selecting your trip data
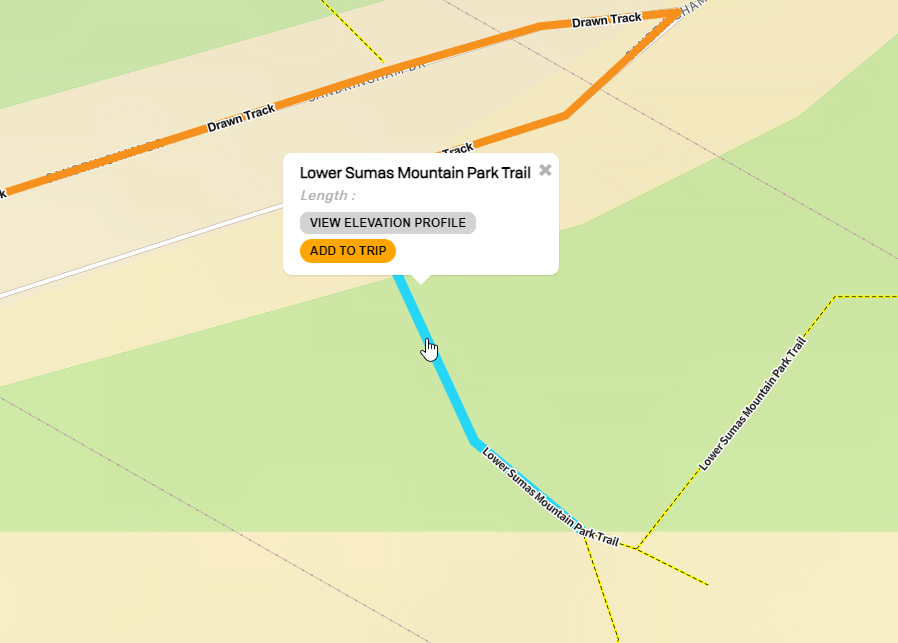
To create a trip you can add and create your own points and tracks before adding them to the trip or you can add existing trail segments and POI points to your trip.
Adding your own Points
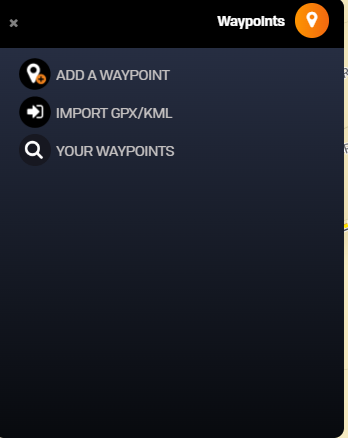
Select the Waypoint tool from the menu
Click on Add waypoint to activate the waypoint tool.
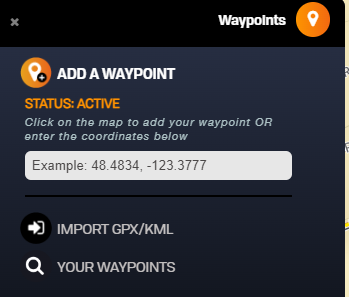
Now you can click on the map to drop the point where you would like it.
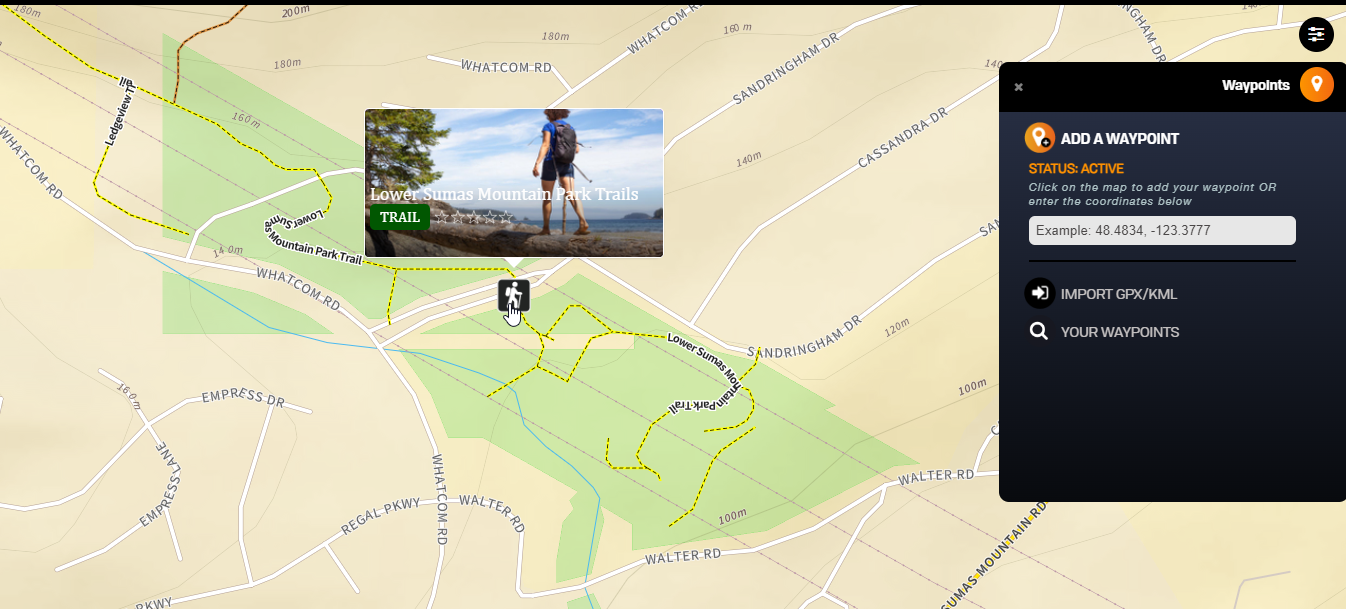
Save the trip name, add a description and give it an icon.
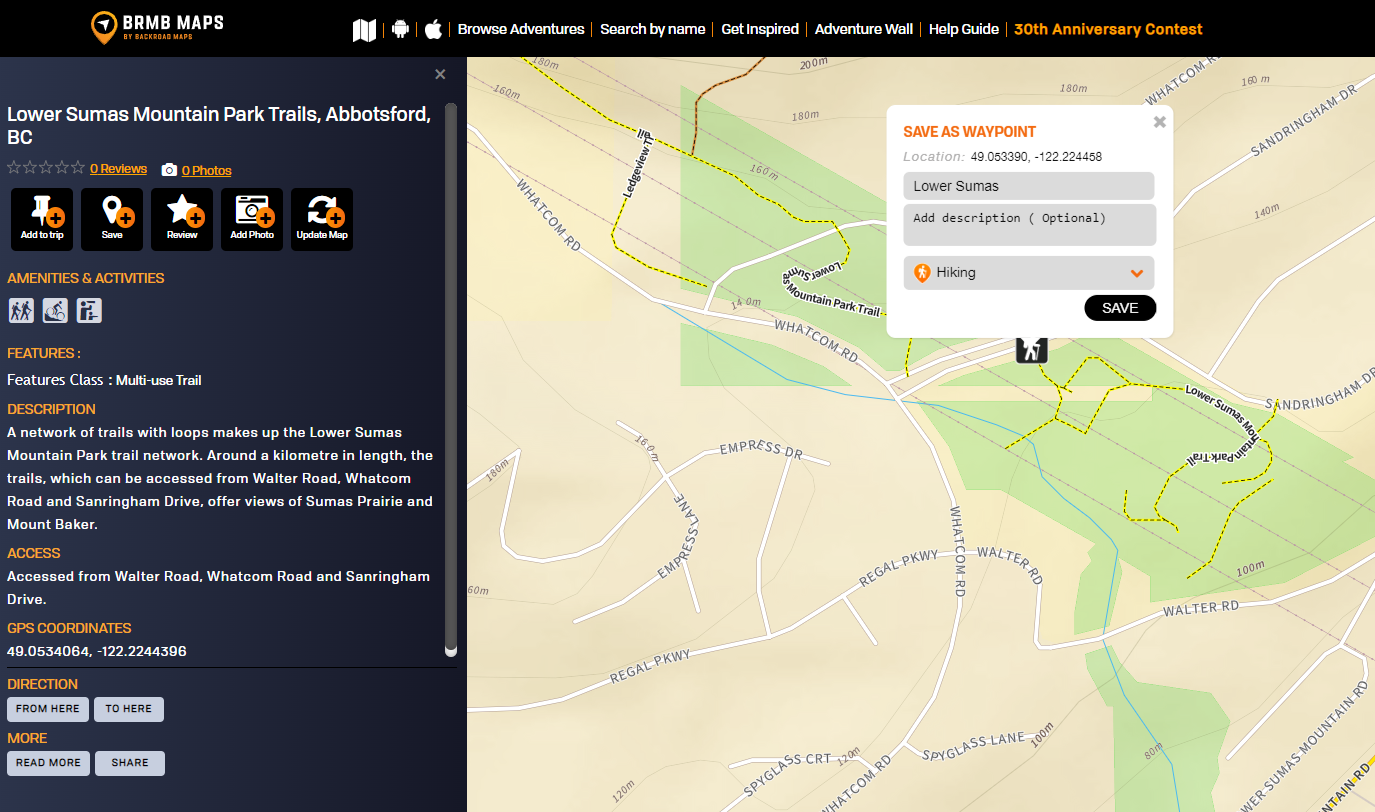
Your point will now show on the map, clicking the point will bring up the pop up menu and you can add it to your trip.

Adding your own Tracks
To add your own tracks you can click the track tool, use the tool to draw your track lines on the map and double click when finished. It will ask you to name the track and give it a classification. You can now click your track and it will give you the option to Add to Trip.

Adding Existing POI and Tracks
You can also add POI and Track data from the adventure layers.
Click on the POI point or track you would like to add and select add to trip.
When you have added the segments of the trail and any points you want to add to your trip they will all show in the trip planning window.
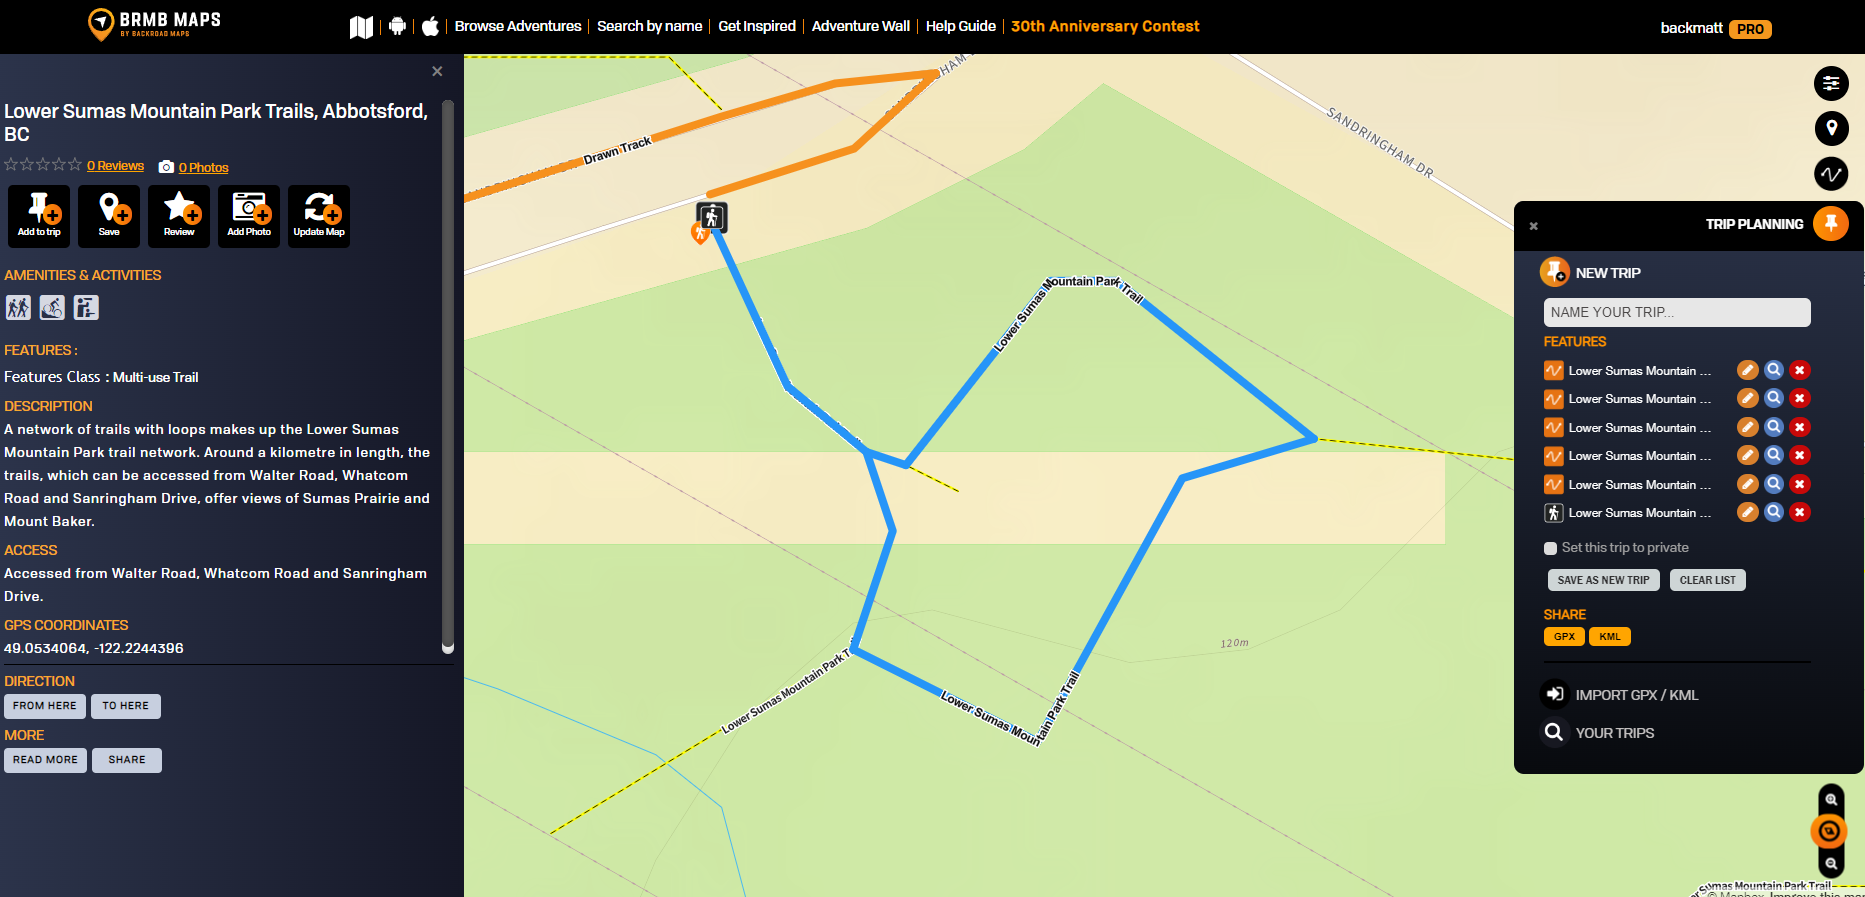
You can name the map and save it so it is available as a trip from the layers menu. If needed you can also export the trip as a .gpx or .kml file.
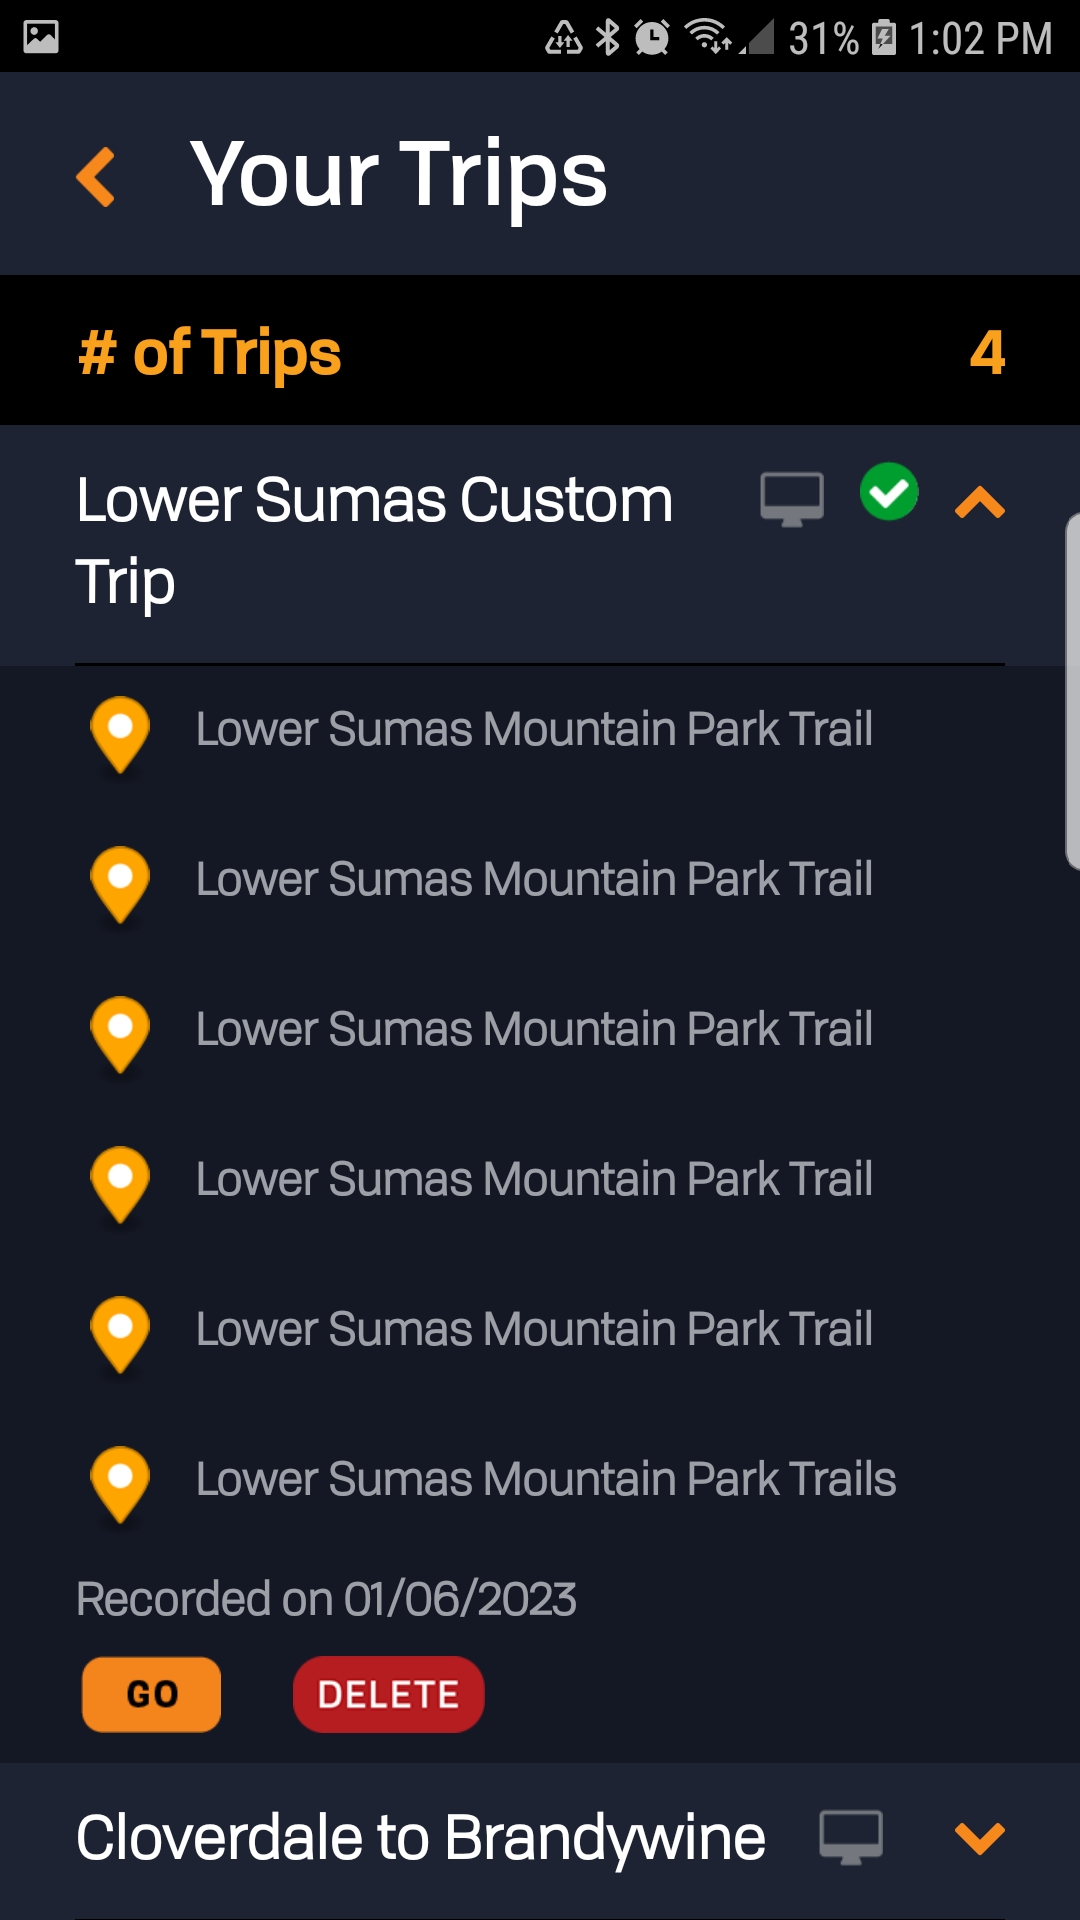
Syncing your Trip data to your device
On your device you can open the app and tap the My Data tab to show your data.
Click Sync with Webmap to sync your data and show you your newly created trip.

After the sync you can tap Your Data and then Select Trips to list trips. Select the trip you want to download to your device and tap the Download button. The trip will now be listed and show you the trip data. Clicking the Go button will take you to your trip on the map.

BRMBMAPS LEGEND
Line Classification: Trails & Routes
| Major Highways |  |
| Secondary Highways |  |
| Ramps |  |
| Arterial Paved |  |
| Collector Roads |  |
| Rural / Local Paved Roads |  |
| Main Industry Roads / Recreation Roads |  |
| Active Industry Roads / Recreation Roads |  |
| Driveways |  |
| Unclassified Roads |  |
Line Classification: Trails & Routes
| Trans Canada Trail | 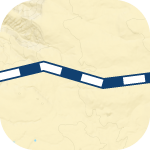 |
| Multi Use Trails | 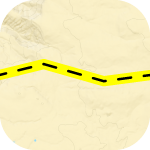 |
| Mountain Biking Trails | 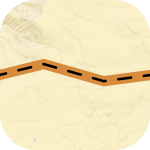 |
| Cross Country Ski Trails | 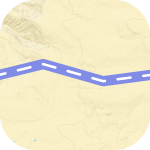 |
| ATV / OHV Trails | 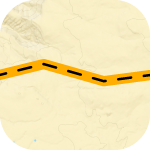 |
| Snowmobile Trails | 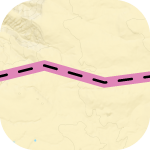 |
| Snowshoe Trails | 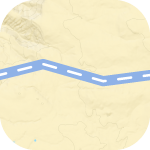 |
| Paddling Routes |  |
| Portage Trails |  |
Line Classification: Trails & Routes
| Railways Abandoned | 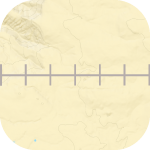 |
| Cut / Seismic Lines | 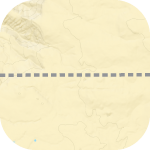 |
| Chair Lifts | 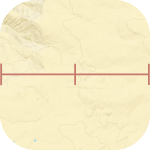 |
| Pipelines | 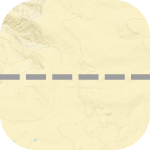 |
| Transmission Lines | 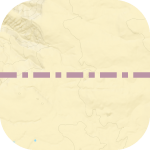 |
| Provincial Boundaries |  |
| Ferry Routes |  |
Points of Interest - Parks & Camping
| National Park |  |
| Provincial Park |  |
| Nature Reserves & Protected Areas |  |
| Ontario Conservation |  |
| Regional Park |  |
| Urban Park |  |
| RV-Access Provincial Campsite |  |
| RV-Access Private Campsite |  |
| RV-Access Other Campsite |  |
| RV-Access BC Rec Site | 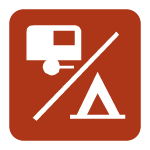 |
| Road Access BC Rec Site |  |
| Cabin / Hut / Shelter |  |
| Backcountry / Water Access Only Campsite |  |
| Picnic / Day Use Area |  |
| Picnic / Day Use BC Rec Site |  |
Points of Interest - Attractions
| Attraction |  |
| Ghost Town |  |
| Scenic Area |  |
| Viewpoint |  |
| Big Tree |  |
| Cave |  |
| Fire Tower |  |
| Lighthouse |  |
| Anchorage/Marina |  |
| Beach |  |
| Beach Access |  |
| Dam |  |
| Hot Springs |  |
| Shipwreck |  |
| Waterfall |  |
| BRMB GeoTour(BC) |  |
| TCT Trail Pavilion |  |
| BC Rail Trail Substation |  |
| BC Rail Trail Trestle |  |
| BC Rail Trail Tunnel |  |
| Shooting Range |  |
| Ranger Station/Patrol Cabin |  |
| Diving |  |